| En poursuivant votre navigation sur ce site, vous acceptez l'utilisation de cookies pour vous proposer des services et offres adaptés à vos centres d'intérêt. En savoir plus et gérer ces paramètres. |  |
Blog de dantys
aide blog-

How to Prevent Burns When Laser Cutting publié le 22/11/2022 à 13:11
Due to the commonality of wood materials and wood in the laser engraving industry, it is very important to prevent burn marks from wood carving. A good woodcarving craft must be able to carve cleanly. Wood carving generally has a feeling of being burnt, and the color matching with the wood base has a primitive artistic beauty. The depth of the color mainly depends on the laser power and engraving speed. But some woods are usually the softer kind that can't change color anyway. Sometimes clients may ask you to color the finished product. Acrylic paint can be used.
One of the skills laser engraver and cutters need to master is trying to avoid burn marks on the edges of the engraving. For some materials, burn marks are unavoidable no matter where the laser is focused. However, by using the correct substrate and following instructions carefully, you can minimize time-consuming cleanup during cutting.
Pay attention to the choice of wood
Softwoods: Softwoods such as balsa and alder require lower power settings and higher laser speeds. Cork does not require prolonged energy and laser interaction. Using a lighter wood minimizes the contrast between the original surface and the newly cut edge.
Hardwoods: Hardwoods like cherry and oak are more likely to burn than balsa woods because you'll need to use a more powerful laser to engrave or cut the surface. The result is darker edges and a greater chance of burning.
Plywood: Plywood is a more difficult substrate to cut without burning, but it is possible if you use the following tips. It is one of the most versatile materials available in a variety of sizes and styles. However, you'll want to choose a material designed for laser cutting, such as birch plywood. For a special wood like plywood, it is also necessary to test the speed and strength in advance. Edge burn is one of the most common challenges of laser cutting plywood, and the cutting power and speed of the router must be maximized to reduce the time the laser dwells on the material and minimize burnt edges on the cut. This is due to edge burning, usually due to high laser power or low cutting speed.
Wavelength: Even the laser wavelength can affect the cut edge of the material, so 1.06 micron fiber lasers are not recommended. In contrast, 9.3- or 10.6-micron fiber bundles produced the least burn marks when cutting wood with a CO2 laser.
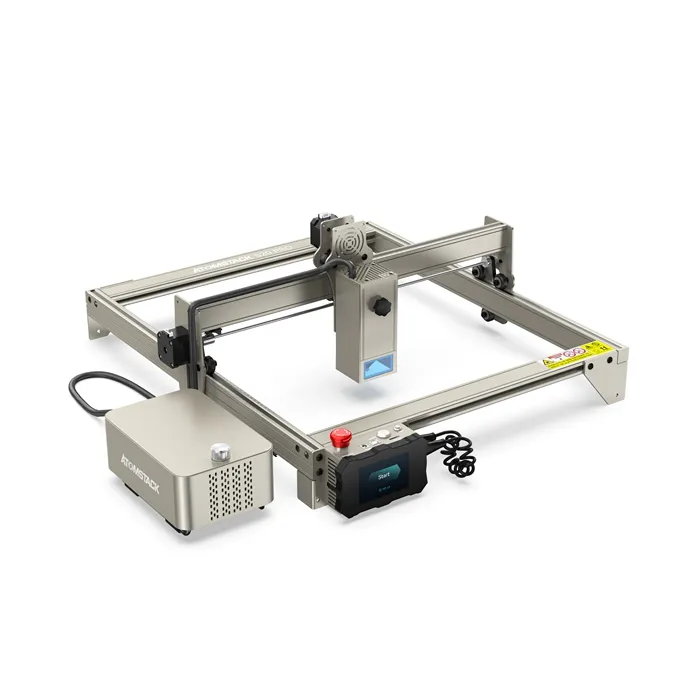
Resin Content: The amount of SAP or resin in the wood can make a huge difference when using a atomstack s20 pro laser cutter. Materials such as alder with a high resin content are more likely to burn or blacken at the edges, while oak has a lower resin content and is better for a light, clean cut. The degree of burn marks varies from material to material, with woods that have a high resin content or low moisture content being more prone to burn marks. However, if you do need a specific type of wood with a high resin content, there are other effective methods you can use to create wood that has no burn marks.
Proper Engraving Power and Speed
Improper power and speed regulation. So it's a good idea to perform a power speed test before sculpting anything. It will give you a better idea of what power and speed you need to choose. For different kinds of wood materials, there is no problem of how to adjust the optimal distance of the laser focus. Experiment with different focal length settings to see which works best. Monport 60W, 80W, 100W, 130W, 150W are all equipped with auto focus system. There is no question of how to adjust the optimal distance to focus the laser. Experiment with different focal length settings to see which works best. In summary, reducing power and increasing speed will generally reduce the burn area. Once you find the settings that work for each wood, you can jot them down to speed up future progress. You can manually adjust the laser focus to make it slightly smaller in order to find the perfect setting for the cut.Use masking tape
You can stick masking tape to wood surfaces, but application tape is readily available in wide rolls that work perfectly with atomstack laser engravers. You can apply the tape to the side of the product for a perfectly clean surface. Use a small plastic spatula to press down on the tape firmly, making sure there are no air bubbles, which could interfere with the cutting process. The tape will leave burn marks and the wood will stay safe. This is the most cost-effective solution, but it cannot avoid the burn marks that appear on the edges of the wood when cutting with a laser. Not only is tape cheap and convenient, but the masking tape can be easily removed without leaving any marks on your work.
(0) commentaires
ARCHIVES

"Jean-Michel Berille, le responsable des télé-conseillers." |

- Méthode Savoir Maigrir |
|
ACCUEIL
COACHING
|
PREMIUM
FORUM PREMIUM
|
COMMUNAUTÉ
FORUM
|
RUBRIQUES
DOSSIERS
|
GUIDES
PLUS
|
|
||||||
|
|
|
|||||
|
|
||||||
|
|
||||||
|
|
|
|||||
|
|
||||||
|
|
Tags : ventre plat | maigrir des fesses | abdominaux | régime américain | régime mayo | régime protéiné | maigrir du ventre | |
|
|
|
Découvrez aussi : exercices abdominaux | recette wok | |
|
|
|
|
|
ANXA Partenaires : Recette de cuisine | Recette cuisine | |
|


